Time-lapse photography is a technique that allows you to capture a long duration of time in a compressed format, resulting in a video that shows the passage of time. This technique is commonly used in nature photography, astrophotography, and urban landscapes. If you own a Nikon D810a camera and want to try your hand at time-lapse photography, this article will guide you through the process.
- Prepare your camera: First, make sure your Nikon D810a camera is fully charged and has enough space on the memory card to store the images. Next, set your camera to manual mode, and choose a wide-angle lens. If you want to capture the night sky, you will need a tripod and a cable release to avoid camera shake.
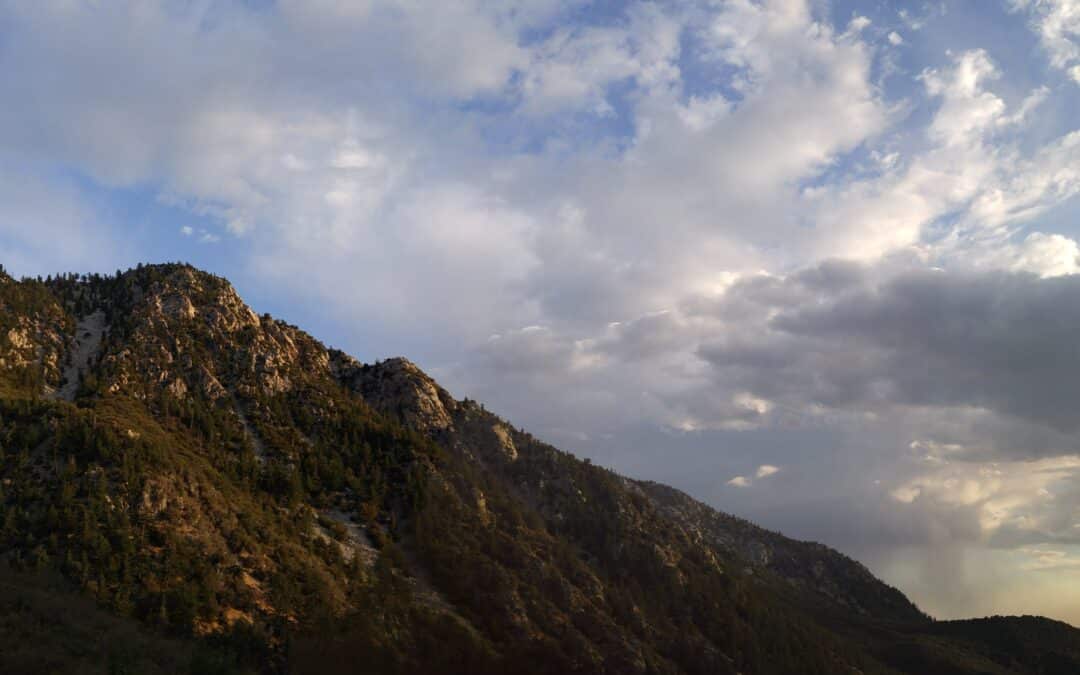
- Choose your subject and location: Once your camera is ready, decide on your subject and location. Whether you want to capture the movement of the clouds, the blooming of flowers, or the stars in the night sky, choose a location that provides a clear view of your subject.
- Set up your camera: Before you start shooting, set up your camera on a tripod or stable surface. If you are shooting at night, make sure to turn off the autofocus and set the focus to manual. Additionally, set the exposure mode to manual, and choose a shutter speed and aperture that is appropriate for your subject and lighting conditions.
- Configure your camera settings: In the camera menu, navigate to the shooting menu and select the interval timer shooting option. Set the interval between shots to the desired time, depending on how long you want the time-lapse video to be. For example, if you want to create a one-minute video, set the interval to 5 seconds, which will result in 12 frames per minute. Also, set the number of shots you want to take in total.
- Start shooting: Once you have set up your camera, press the shutter button to start the interval timer shooting mode. The camera will automatically take a series of photos at the designated interval time. Make sure to keep an eye on your camera, and check the images periodically to ensure they are coming out as expected.
- Post-processing: After you have captured the images, transfer them to your computer and use software such as Adobe Lightroom or LRTimelapse to create the final time-lapse video. In the software, you can adjust the exposure and color of the images and create the final video by stitching together the frames.
In conclusion, time-lapse photography is a great technique to capture the passage of time in a compressed format. If you own a Nikon D810a camera, the above steps will help you create stunning time-lapse videos. Remember to choose a subject and location, set up your camera, and configure the interval timer shooting mode to capture a series of images that can be combined into a final video. With practice and experimentation, you can create beautiful time-lapse videos that showcase the beauty of the world around us.
Nikon Z9 review: a DSLR-like stills/video monster
The Nikon Z9 is a groundbreaking 45.7MP full-frame mirrorless camera designed for professional sports photography. It boasts a...
Rural Travels with the Nikon Z9. My Full Review. |
Steve Huff shares his comprehensive experience with the Nikon Z9 camera, highlighting its exceptional capabilities as a hybrid...
Top 5 Exciting New Cameras for 2024
Camera technology, particularly mirrorless models, has seen significant advancements, with the latest releases showcasing...
The Best Camera Strap for Hiking and Backpacking
Carrying a DSLR camera with a traditional neck strap while hiking can be cumbersome, causing neck discomfort and camera swing....
Best Camera Strap for Hiking
Welcome fellow explorers and shutterbugs! If you’re seeking the ‘Best Camera Strap for Hiking’, you’re in the right place. Just...
22 Landscape Photography Tips for Beginners
The Essence of Landscape Photography The allure of landscape photography extends beyond picturesque sunsets and vibrant foliage;...
A Guide to Filters for Lenses
Lens filters serve a dual purpose: they protect the camera lens and enhance image quality. Basic filters include ultra-violet...
What Type of Lens to Use for Specific Situations
The lens is a crucial component of a camera, significantly impacting image clarity, color, and detail. In contrast to fixed...
How To Get Up Close With Close-Up Lenses
An Overview of Close-Up Lenses For those seeking a cost-effective and straightforward method for capturing detailed images of...
10 Best Lenses for Wildlife Photography (2024)
The Sony FE 70-200mm f/2.8 GM OSS II lens represents a significant improvement over its predecessor, offering a lighter design...
20 Essential Tips on Wildlife Photography for Beginners
Entering the realm of wildlife photography can be an intimidating endeavor. Wildlife photographers often find themselves in...
Nature Photography 101
Nature photography is not only an enjoyable hobby but also a means to contribute to conservation efforts. Enthusiasts like David...
